
In this notebook, we’re going to take our prepared images and augment them to increase the size of our dataset.
Table of Contents
- Introduction
- A note of caution when augmenting images: Bayes optimal error
- Transformations
- Putting everything together
Introduction
Now that the images have been sorted into the proper splits, we can move forward with classifying them. But before we do that, we need to consider the size of the dataset. We have a few thousand images to work with and only two classes of images. Although this may sound like a lot, it isn’t very much for training a deep neural network.
To get a sense of the size and scale needed, we’ll look at some important results from the world of deep learning. The most popular image recognition contest is the ImageNet Large Scale Visual Recognition Challenge (ILSVRC). ILSVRC has 1.2 million images in 1000 classes, which equates to 1200 images per class on average. This is right around where we are, which is great. However, large models, such as those used for deep learning, will significantly overfit on a dataset of this size. So let’s look at how successful models dealt with this issue.
The first deep learning model to perform really well on this dataset was AlexNet. AlexNet was a deep convolutional neural network developed by the University of Toronto and is probably the most important model in creating the recent excitement around deep learning. So how did AlexNet avoid overfitting? They used data augmentation to prevent this. They took 224 X 224 “patches” of a 256 X 256 image by cropping the original images in different places to create new images. This increased the total number of images available by a factor of 2048.
We’re going to do the same thing here. But instead of just cropping, we’ll do several different label-preserving transformations. We’ll explore each one in this notebook.
A note of caution when augmenting images: Bayes optimal error
We have to be careful about how much we transform the images when creating new ones. We want the augmented images to be different enough from the originals to be useful for our model but not different enough that the subject of the images could become unrecognizable. In the original images, someone knowledgeable about kangaroos and wallabies would be able to correctly classify every image (I went through this dataset and hand-labeled it). Thus the lowest possible error rate that any model could conceivably have on the original images is 0%. This error, the lowest possible error, is known as Bayes optimal error.
The reason I bring up Bayes optimal error when augmenting images is that it can change as the images undergo more drastic augmentations. If we distort the images so significantly that some become unrecognizable, we cannot expect even the best model to get 100%. For example, if we shifted each image to the left 100 pixels, each image with the animal in the left 100 pixels would become unrecognizable because there’s no animal left in the image. It has nothing to do with the model; the image just doesn’t contain enough information to make an accurate prediction. Bayes optimal error is no longer 0%. In order to prevent this, we’ll take a look at all the augmentations we plan to do.
But first, why do we care about Bayes optimal error? It is important to know because it provides a guideline for the model. If our model has an error rate of 10%, would gathering (or augmenting) more data help the model? Would a better model do better? Well, we don’t know without knowing Bayes optimal error. If a group of marsupial experts also has an error rate of 10%, then more data or a better model probably won’t help. But if the group of experts has an error rate of 1%, then there are probably some improvements to be made.
Transformations
Keras has a method that makes data augmentation very easy, so we’ll use that.
import os

import matplotlib.pyplot as plt
from PIL import Image

from tensorflow.keras.preprocessing.image import (ImageDataGenerator, array_to_img,
                                       img_to_array, load_img)
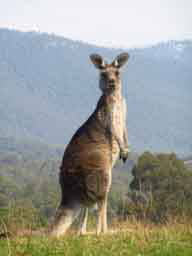
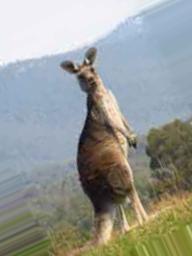
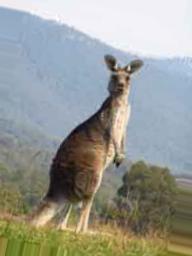
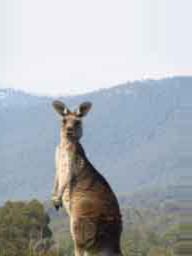
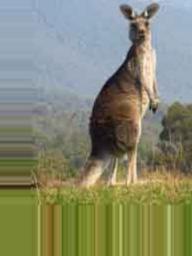
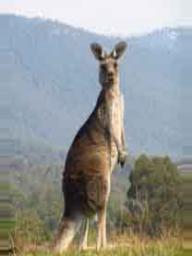
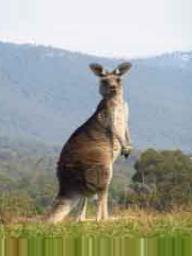
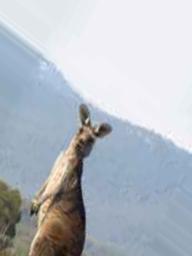
test_image = Image.open('roo.jpg')
test_image
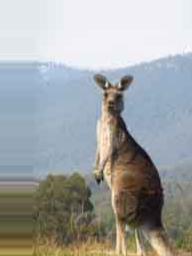
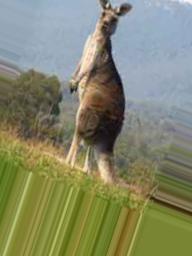
Rotation
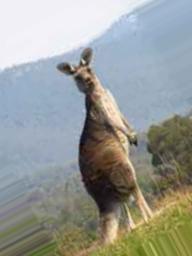
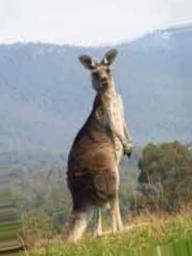
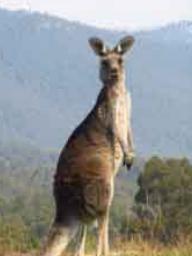
One of the most common methods is rotation. A kangaroo rotated 45 degrees should still look like a kangaroo. Let’s try that.
input_path = 'roo.jpg'
output_path = 'roo_rotation{}.jpg'
count = 10
datagen = ImageDataGenerator(
    rotation_range=45
)
Let’s build a function to help us augment the images. We want precise control over how the images are changed and how many are created. Keras provides a lot of flexibility in the way it augments images. It can perform just-in-time image generation to save on disk space. That’s normally what we would do, but in this case we’ll save them to disk so we can look at them.
def augment_image(input_path, output_path, datagen, count=10):

    # load image to array
    image = img_to_array(load_img(input_path))

    # reshape to array rank 4
    image = image.reshape((1,) + image.shape)

    # let's create infinite flow of images
    images_flow = datagen.flow(image, batch_size=1)
    for i, new_images in enumerate(images_flow):
        if i >= count:
            break
        # we access only first image because of batch_size=1
        new_image = array_to_img(new_images[0], scale=True)
        new_image.save(output_path.format(i + 1))
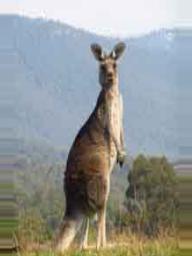
augment_image(input_path, output_path, datagen)
 |
 |
 |
 |
 |
 |
 |
 |
 |
 |
These all look reasonable. Let’s try something else
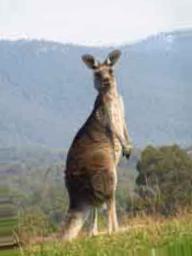
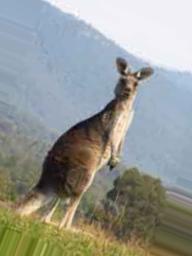
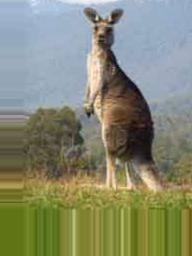
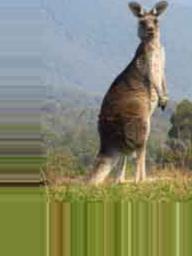
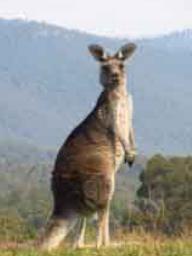
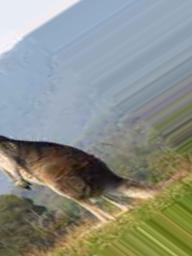
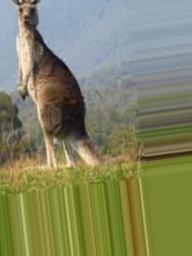
Shift and flip
input_path = 'roo.jpg'
output_path = 'roo_shift_flip{}.jpg'
datagen = ImageDataGenerator(
    width_shift_range=0.3, height_shift_range=0.3, horizontal_flip=True, vertical_flip=False)
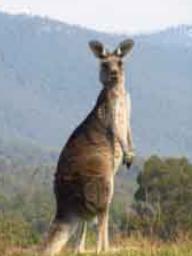
augment_image(input_path, output_path, datagen)
 |
 |
 |
 |
 |
 |
 |
 |
 |
 |
Some of these are a bit more difficult, but I think they’ll still work.
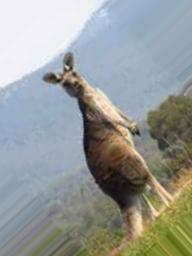
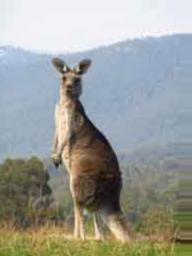
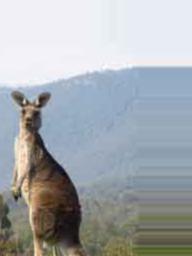
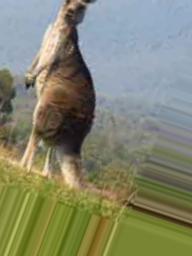
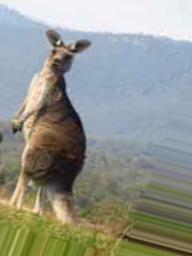
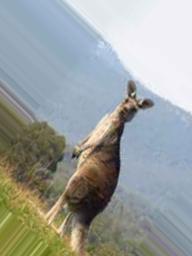
Shear and zoom
input_path = 'roo.jpg'
output_path = 'roo_shear_zoom{}.jpg'
datagen = ImageDataGenerator(shear_range=0.2, zoom_range=0.2, fill_mode='nearest')
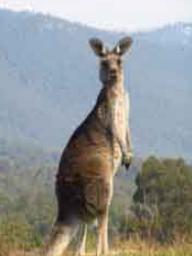
augment_image(input_path, output_path, datagen)
 |
 |
 |
 |
 |
 |
 |
 |
 |
 |
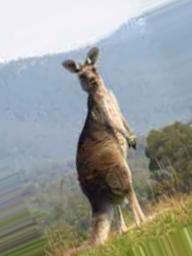
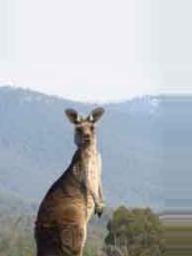
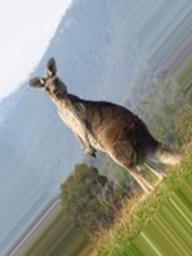
Putting everything together
input_path = 'roo.jpg'
output_path = 'roo_all{}.jpg'
datagen = ImageDataGenerator(rotation_range=45,
                             horizontal_flip=True,
                             vertical_flip=False,
                             width_shift_range=0.3,
                             height_shift_range=0.3,
                             shear_range=0.2,
                             zoom_range=0.2,
                             fill_mode='nearest')
augment_image(input_path, output_path, datagen)
 |
 |
 |
 |
 |
 |
 |
 |
 |
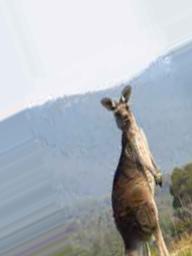 |
All of these are still identifiable as kangaroos, so that’s good. We’ve got a good augmentation pipeline going that we could now use to prevent overfitting.