This post is going to demonstrate how to do data augmentation for computer vision using the albumentations library. The exact data augmentations you use are going to be specific to your use-case. For example, if you’re training on overhead imagery the augmentations you use will probably be somewhat different than on an ImageNet-like dataset (although there will also be considerable overlap).
Table of Contents
- Spatial augmentations
- Pixel-level augmentations
- Non-rigid transformations
- Adding Effects
- Cropping
- Overall
import random
from typing import List

import albumentations as A
import cv2
import imageio
import numpy as np
from matplotlib import pyplot as plt
from mpl_toolkits.axes_grid1 import ImageGrid
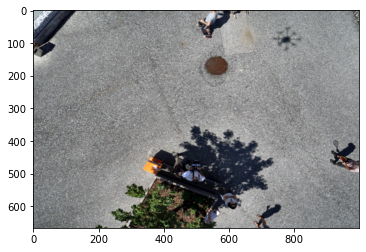
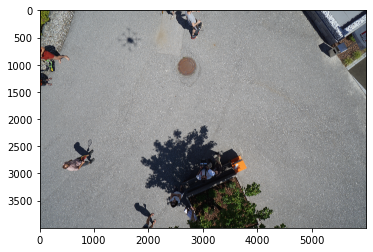
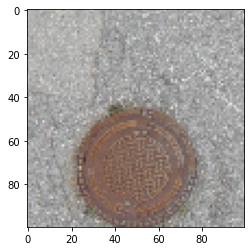
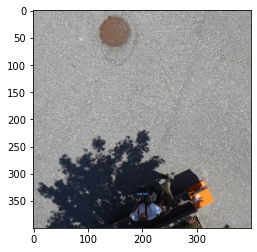
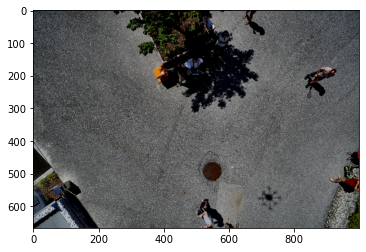
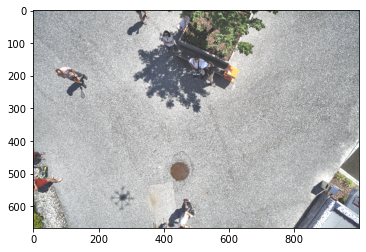
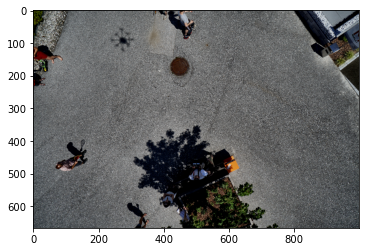
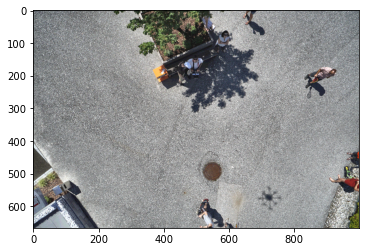
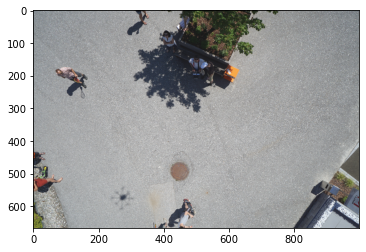
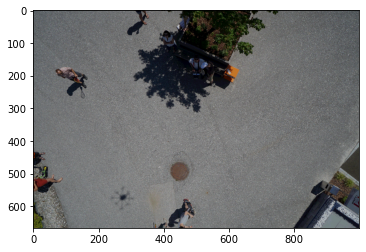
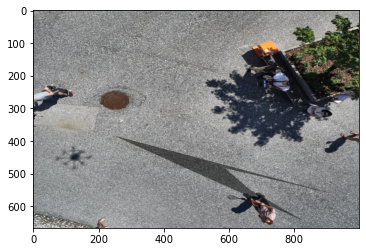
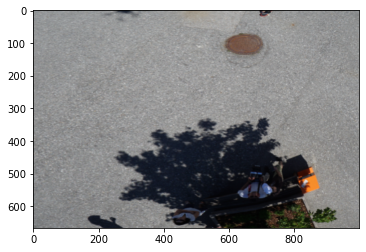
To illustrate the data augmentation techniques, I’m going to use a sample image from the semantic drone dataset from Kaggle. Credit for the original dataset goes to the Institute of Computer Graphics and Vision at Graz University of Technology in Austria.
Let’s read in the image.
image = imageio.imread('semseg_image.jpg')
mask = imageio.imread('semseg_label.png')
Let’s confirm that they are numpy arrays and see how big they are.
print(isinstance(image, np.ndarray))
print(isinstance(mask, np.ndarray))
print(image.shape, mask.shape)
True
True
(4000, 6000, 3) (4000, 6000)
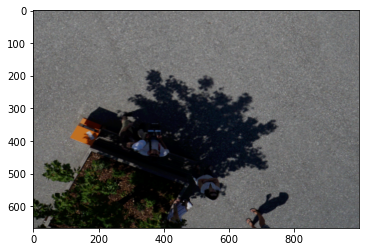
Now, let’s take a look at the image and mask.
plt.imshow(image);
plt.imshow(mask);
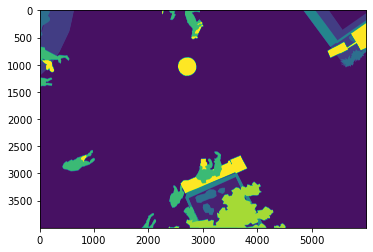
Let’s look in more detail at the mask. It has different values for the different classes.
np.unique(mask, return_counts=True)
(Array([ 0,  1,  2,  4,  8, 10, 15, 19, 22], dtype=uint8),
 array([   60393, 20883680,   293514,   633602,   211227,   287613,
          524123,   589714,   516134], dtype=int64))
The image is bigger than we’ll need, so let’s resize it first.
image.shape
(4000, 6000, 3)
original_height, original_width = image.shape[:2]
print(original_height)
print(original_width)
4000
6000
downsize_factor = 6
image = image[::downsize_factor, ::downsize_factor]
mask = mask[::downsize_factor, ::downsize_factor]
Let’s take a look at the image and the mask.
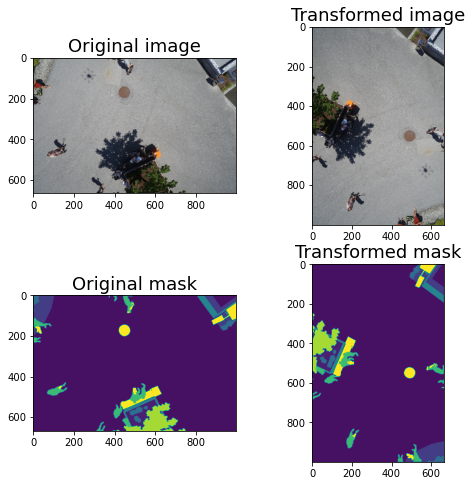
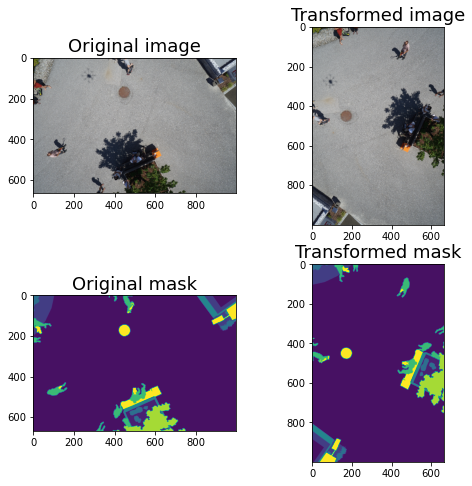
def visualize(original_image, transformed_image, original_mask=None, transformed_mask=None, fontsize = 18):

    if original_mask is None and transformed_mask is None:
        f, ax = plt.subplots(1, 2, figsize=(14, 14))

        ax[0].imshow(original_image)
        ax[0].set_title('Original image', fontsize=fontsize)

        ax[1].imshow(transformed_image)
        ax[1].set_title('Transformed image', fontsize=fontsize)

    else:
        f, ax = plt.subplots(2, 2, figsize=(8, 8))

        ax[0, 0].imshow(original_image)
        ax[0, 0].set_title('Original image', fontsize=fontsize)

        ax[1, 0].imshow(original_mask)
        ax[1, 0].set_title('Original mask', fontsize=fontsize)

        ax[0, 1].imshow(transformed_image)
        ax[0, 1].set_title('Transformed image', fontsize=fontsize)

        ax[1, 1].imshow(transformed_mask)
        ax[1, 1].set_title('Transformed mask', fontsize=fontsize)
def visualize_group(augmented_images: List, fontsize=18):

    fig = plt.figure(figsize=(16., 16.))
    grid = ImageGrid(fig, 111,
                     nrows_ncols=(3, 3),
                     axes_pad=0.5,
                     )
    for ax, im in zip(grid, augmented_images):
        ax.imshow(im)

    plt.show()
Now let’s look at a bunch of augmentations. Albumentations provides pretty good documentation for the transforms.
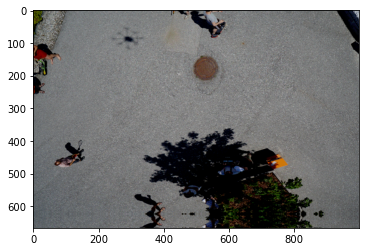
Spatial augmentations
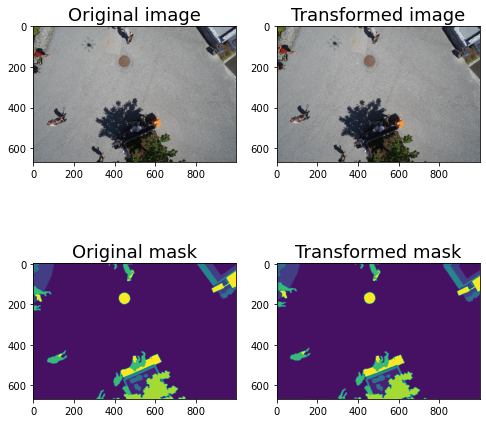
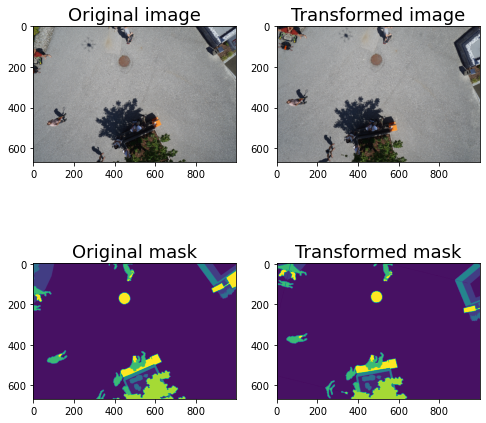
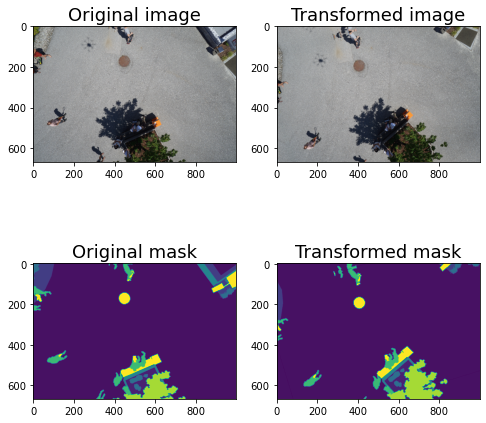
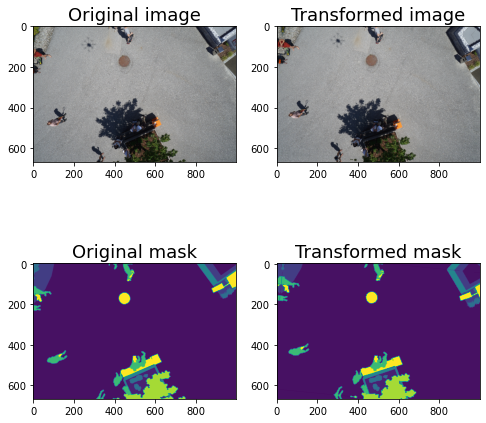
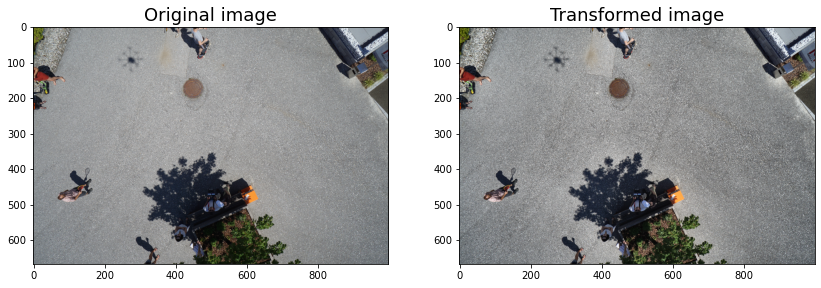
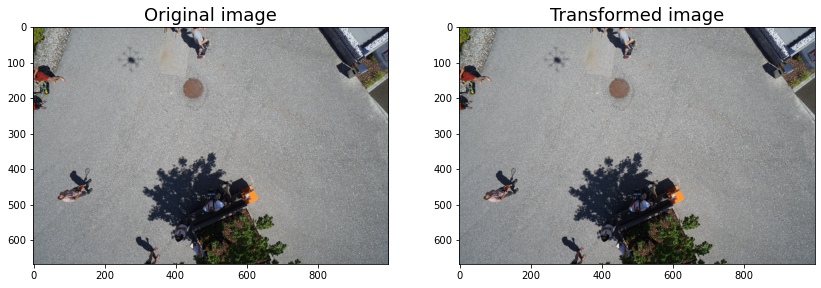
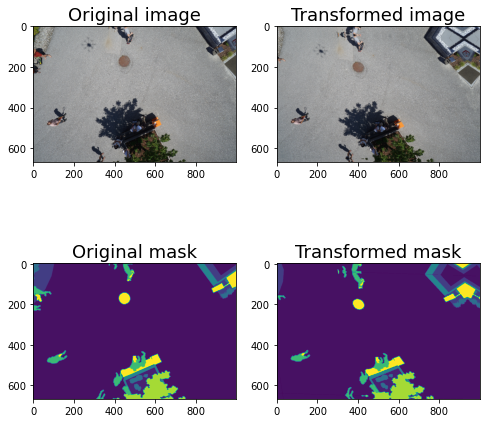
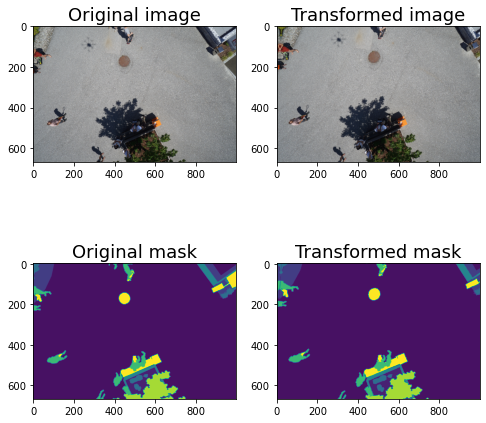
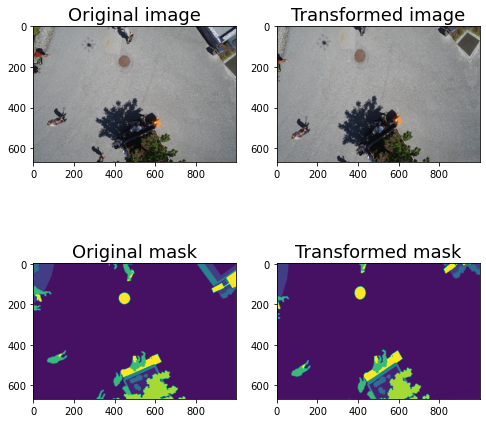
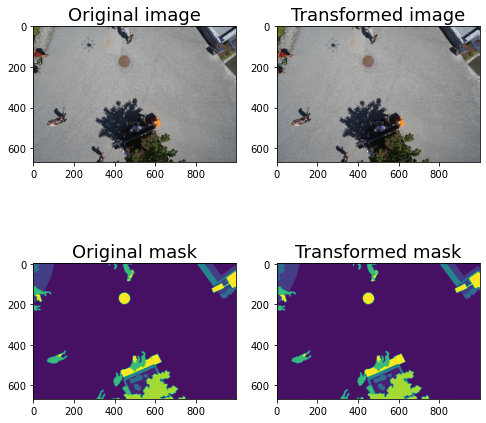
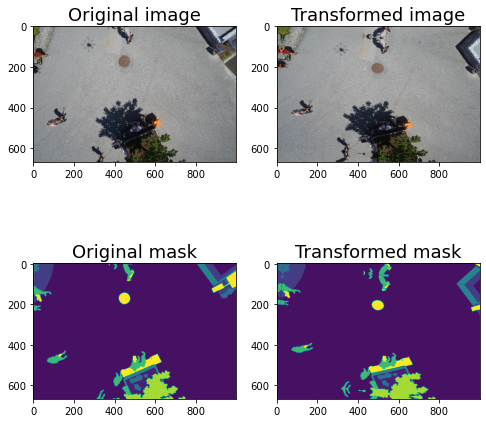
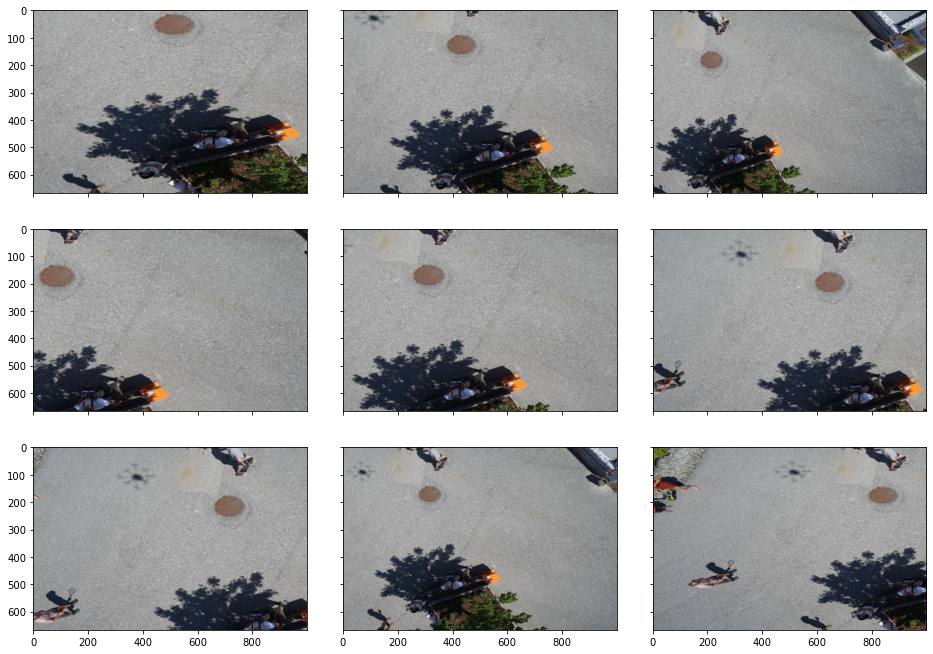
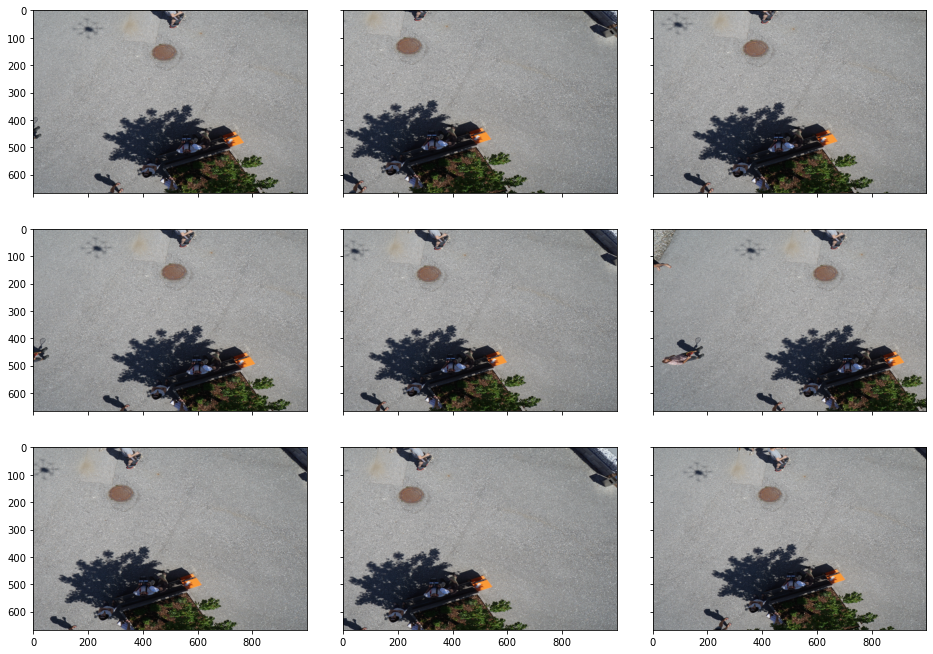
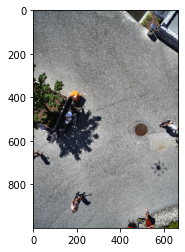
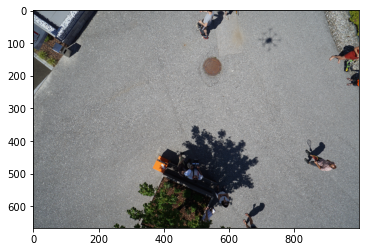
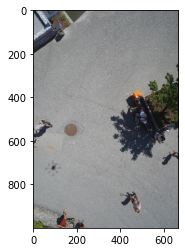
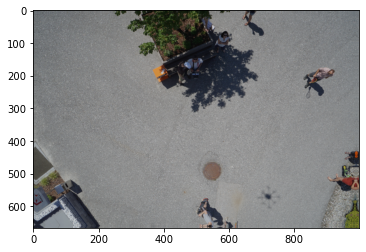
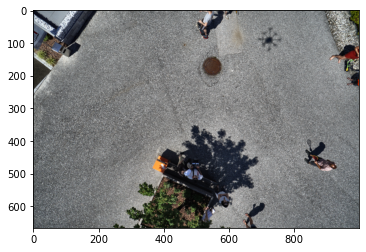
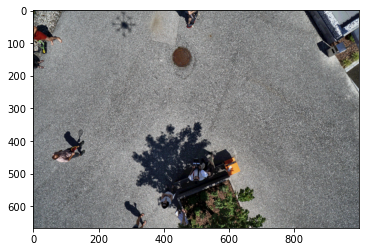
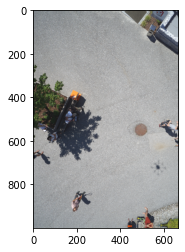
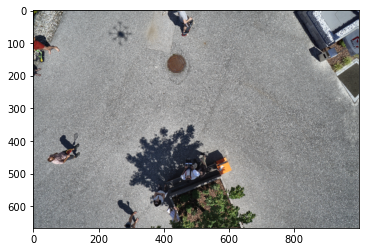
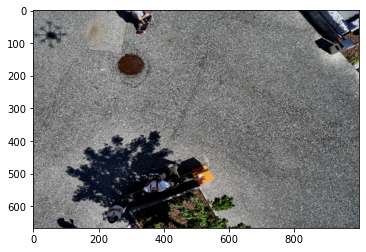
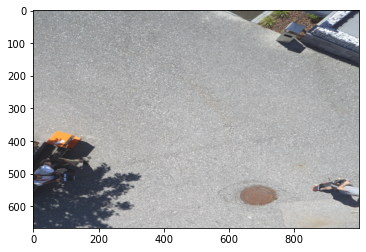
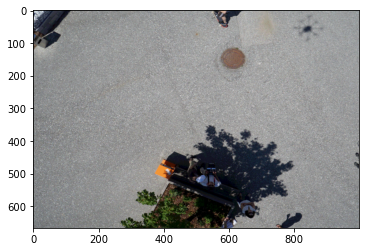
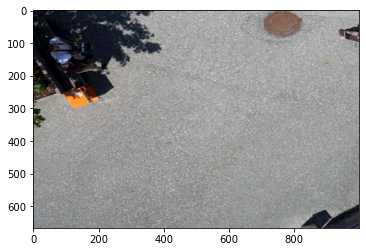
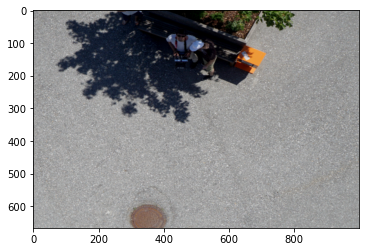
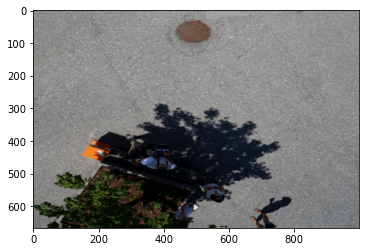
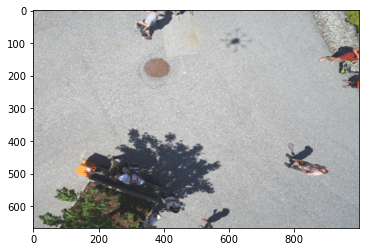
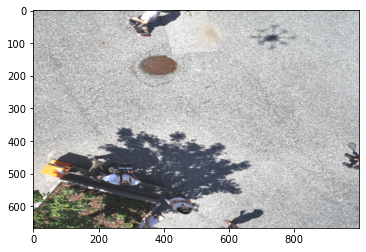
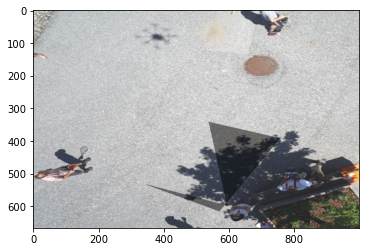
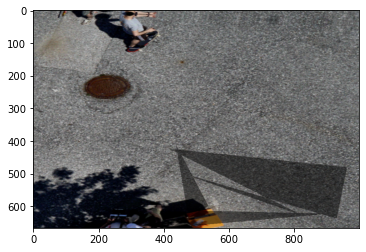
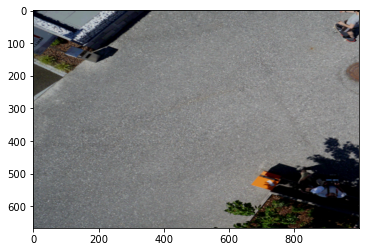
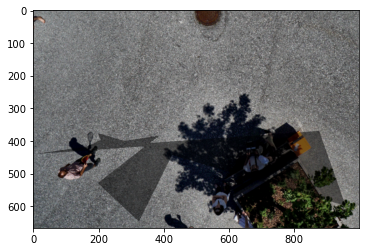
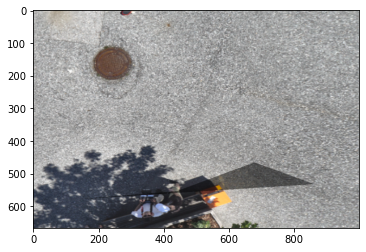
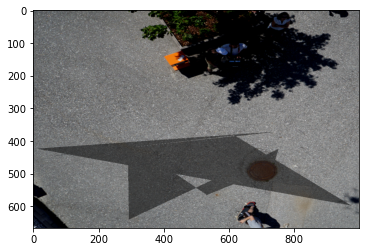
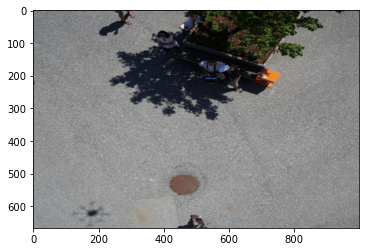
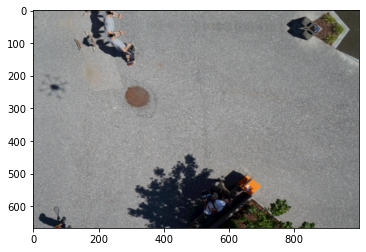
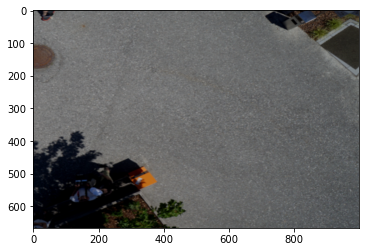
Spatial transforms are things like flips and rotations. In Albumentations, you’ll use transforms like Transpose, and VerticalFlip to do these transformations. When you rotate an image, you will lose some information when you try to make it square again, thus arbitrary rotations aren’t always the best option. Sometimes you’ll want to do spatial transformations that don’t result in any loss. There are eight different alignments that an image could be in without losing any of the image and my goal is to make each of them equally likely. Using the following setup, each position will have a 12.5% chance of being selected.
augments = A.Compose([
    A.Transpose(p=0.5),
    A.VerticalFlip(p=0.5),
    A.HorizontalFlip(p=0.5),

])

for i in range(5):
    augmented = augments(image=image, mask=mask)
    image_aug = augmented['image']
    mask_aug = augmented['mask']
    visualize(image, image_aug, mask, mask_aug)


There is also A.RandomRotate90(p=0.5) but I don’t recommend it. The above are all you need.
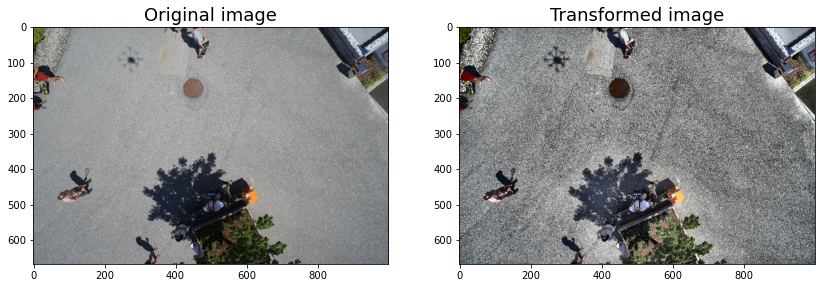
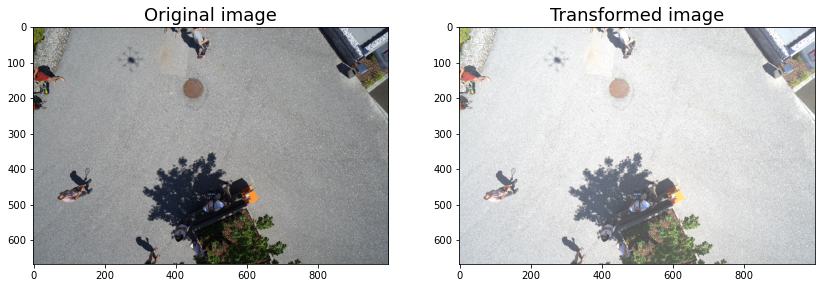
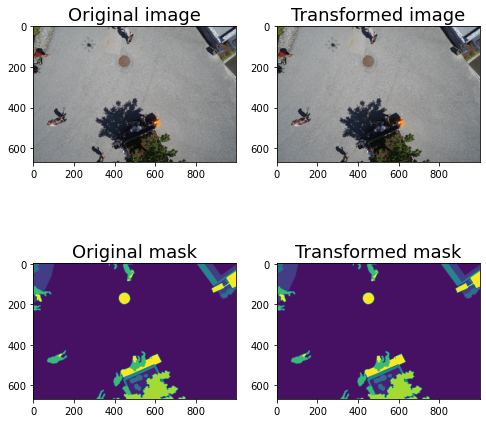
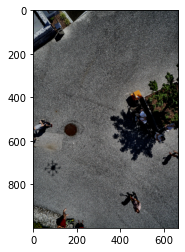
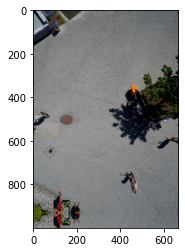
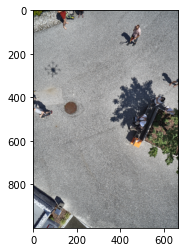
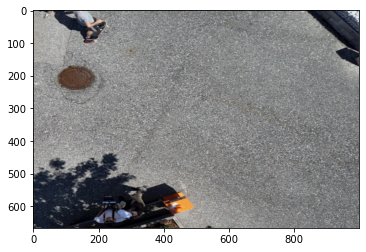
The above works well for overhead (e.g. satellite, aerial) imagery, but if you’re using normal imagery you probably don’t want to rotate it so significantly. Instead, I would do a gentle (perhaps 10 degrees) rotation on each side.
augments = A.Compose([
    A.Rotate (limit=20, p=1)
])

for i in range(5):
    augmented = augments(image=image, mask=mask)
    image_aug = augmented['image']
    mask_aug = augmented['mask']
    visualize(image, image_aug, mask, mask_aug)

In general, for things that are spectra, I apply them 100% of the time. They can always have a small rotation of a few degrees, so it’s like only applying it some of the time.
Pixel-level augmentations
Pixel-level augmentations change pixel values without changing the overall label of the image, so you don’t need to worry about changing the mask when you use them.
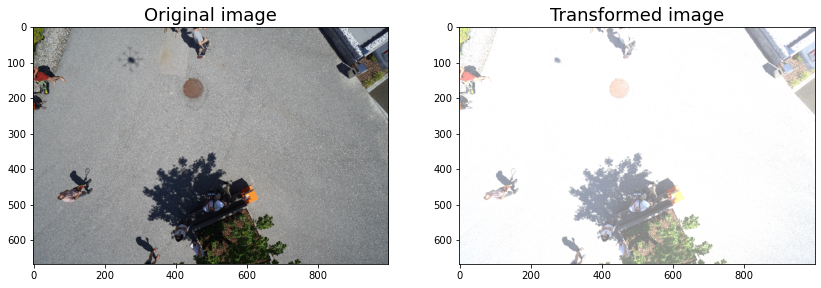
CLAHE
Contrast Limited Adaptive Histogram Equalization (CLAHE) is a good option for pixel-level augmentation. I usually include it and leave the values at the defaults. This by default does a range, so you’ll have to run it multiple times to see the different results.
To specify CLAHE, you usually set a clip limit and it randomly chooses a value between 1 and your specified limit. This means that you get a different value each time you run it. To fix it to be the same, I’m going to set the value as both the high and the low to see that exact value. This is just for demonstration and in practice I wouldn’t do this.
You should be aware that even a clip limit of 1 changes the image, so you may not want to have this always on. Here’s what a clip limit of 1 looks like.
augments = A.Compose([
        A.CLAHE(clip_limit=[1, 1], p=1)
])

augmented = augments(image=image)
visualize(image, augmented['image'])
The default range is 1-4. Here’s what 4 looks like.
augments = A.Compose([
        A.CLAHE(clip_limit=[4, 4], p=1)
])

augmented = augments(image=image)
visualize(image, augmented['image'])
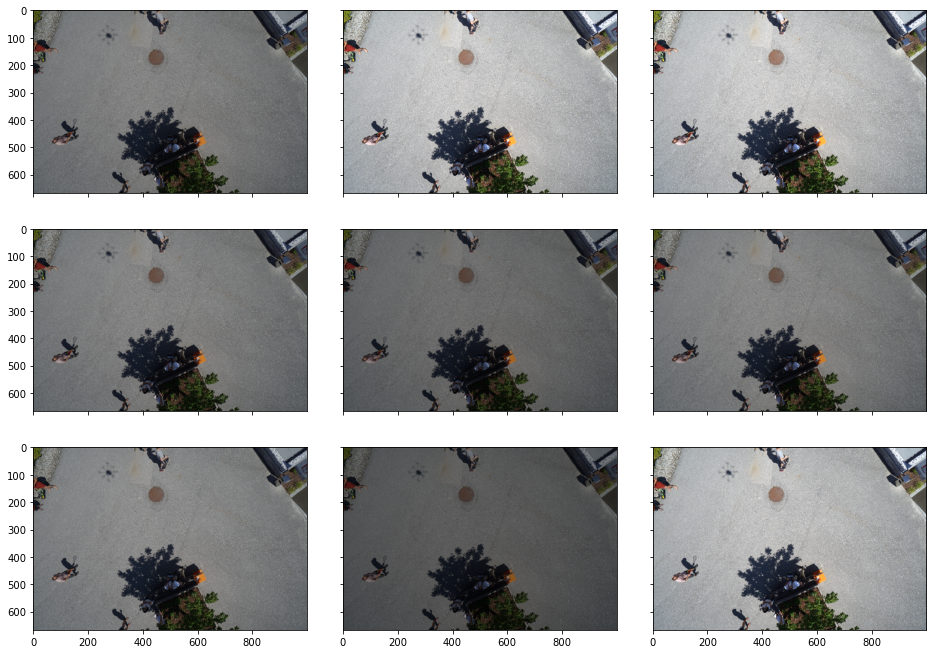
I find that the default range is a little high, so here’s what it looks like at 2.
augments = A.Compose([
        A.CLAHE(2)
])
aug_images = []
for i in range(9):
    augmented = augments(image=image, mask=mask)

    aug_images.append(augmented['image'])

visualize_group(aug_images)
Equalize
Another good one is equalize. This just equalizes the image histogram. I wouldn’t use it during training unless you also planned to use it during test time. Again it’s not going to change the mask.
augments = A.Compose([
        A.Equalize(p=1),
])

augmented = augments(image=image, mask=mask)
augmented_image = augmented['image']

visualize(image, augmented_image)
Posterize
This isn’t that obvious to see but it might be a good idea to use. I don’t use it much. It was used in the AutoAugment research by Google Brain.
augments = A.Compose([
        A.Posterize(num_bits=4, p=0.5),
])

augmented = augments(image=image, mask=mask)

augmented_image = augmented['image']

visualize(image, augmented_image)
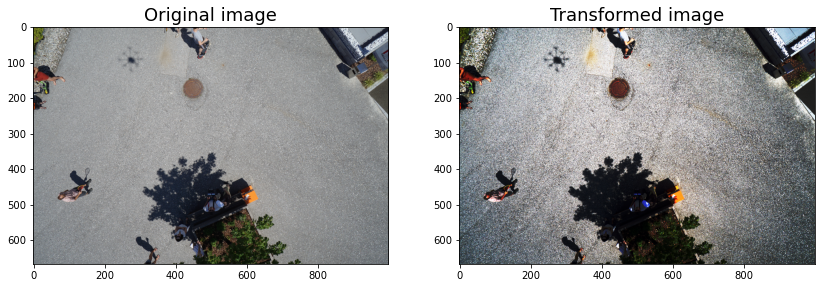
RandomBrightness
augments = A.Compose([
        A.RandomBrightness(limit=(0.3, 0.3), p=1),
])

aug_ims = []
augmented = augments(image=image, mask=mask)

aug_ims.append(augmented['image'])
augmented_image = augmented['image']

visualize(image, augmented_image)
I think it’s easy to go too far with this. For example, for most use-cases I think 0.5 is too much.
augments = A.Compose([
        A.RandomBrightness(limit=(0.5, 0.5), p=1),
])

aug_ims = []
augmented = augments(image=image, mask=mask)

aug_ims.append(augmented['image'])
augmented_image = augmented['image']

visualize(image, augmented_image)
If you set a single value it will be plus or minus this value, which is what you’d actually want. Because it’s a range I leave the probability at 100%.
augments = A.Compose([
        A.RandomBrightness(limit=0.3, p=1),
])

aug_ims = []
for i in range(9):
    augmented = augments(image=image, mask=mask)

    aug_ims.append(augmented['image'])

visualize_group(aug_ims)
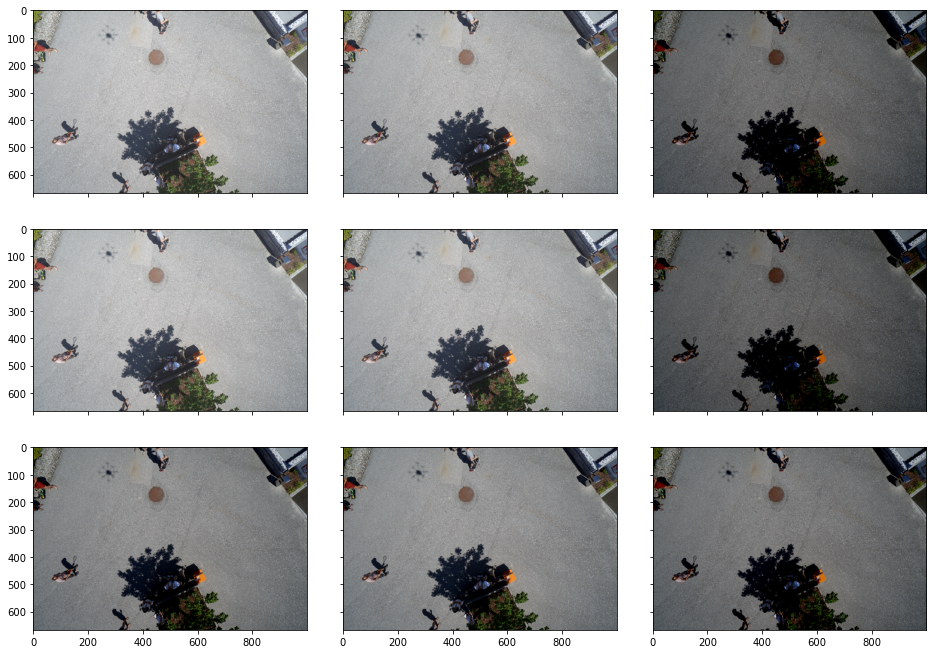
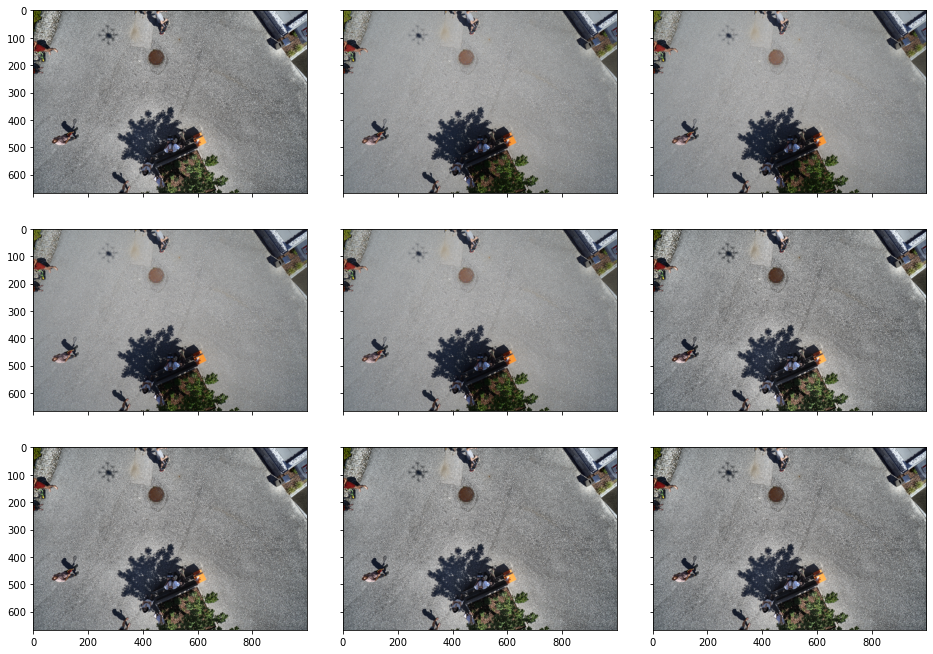
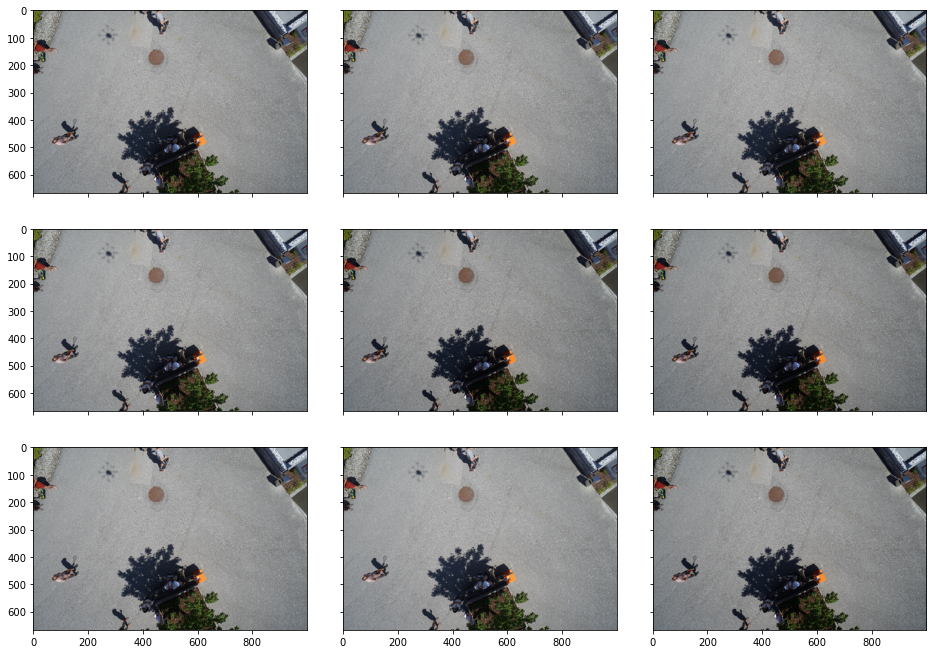
RandomContrast
RandomContrast is similar to RandomBrightness but I find you can get away with doing a bit more.
augments = A.Compose([
        A.RandomContrast(limit=0.5, p=1),
])

aug_ims = []
for i in range(9):
    augmented = augments(image=image, mask=mask)

    aug_ims.append(augmented['image'])

visualize_group(aug_ims)
RandomGamma
RandomGamma doesn’t have much of an effect. Here’s what it looks like with the defaults.
augments = A.Compose([
        A.RandomGamma(gamma_limit=(80, 120), p=0.5),
])

aug_ims = []
for i in range(9):
    augmented = augments(image=image, mask=mask)

    aug_ims.append(augmented['image'])

visualize_group(aug_ims)
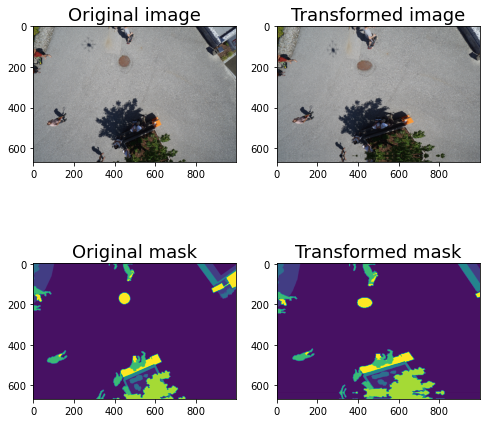
Non-rigid transformations
There are also a lot of non-rigid transformations. These will also change the mask, so you’ll need to make sure this is what you want for your use-case.
augments = A.Compose([
        A.GridDistortion()
])

for i in range(5):
    augmented = augments(image=image, mask=mask)
    image_aug = augmented['image']
    mask_aug = augmented['mask']
    visualize(image, image_aug, mask, mask_aug)


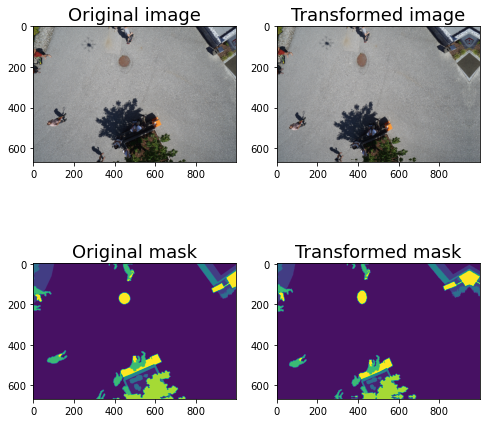
augments = A.Compose([
        A.ElasticTransform()
])

for i in range(5):
    augmented = augments(image=image, mask=mask)
    image_aug = augmented['image']
    mask_aug = augmented['mask']
    visualize(image, image_aug, mask, mask_aug)


augments = A.Compose([
        A.OpticalDistortion()
])

for i in range(5):
    augmented = augments(image=image, mask=mask)
    image_aug = augmented['image']
    mask_aug = augmented['mask']
    visualize(image, image_aug, mask, mask_aug)


If you want to include multiple distortions but don’t want them to add on to each other, you can always use the OneOf method.
augments = A.Compose([
        A.OneOf([A.OpticalDistortion(), A.ElasticTransform(), A.GridDistortion()
                ])
])

for i in range(5):
    augmented = augments(image=image, mask=mask)
    image_aug = augmented['image']
    mask_aug = augmented['mask']
    visualize(image, image_aug, mask, mask_aug)


Adding Effects
You can also add things like rain, fog, shadows, and snow. I find these really helpful.
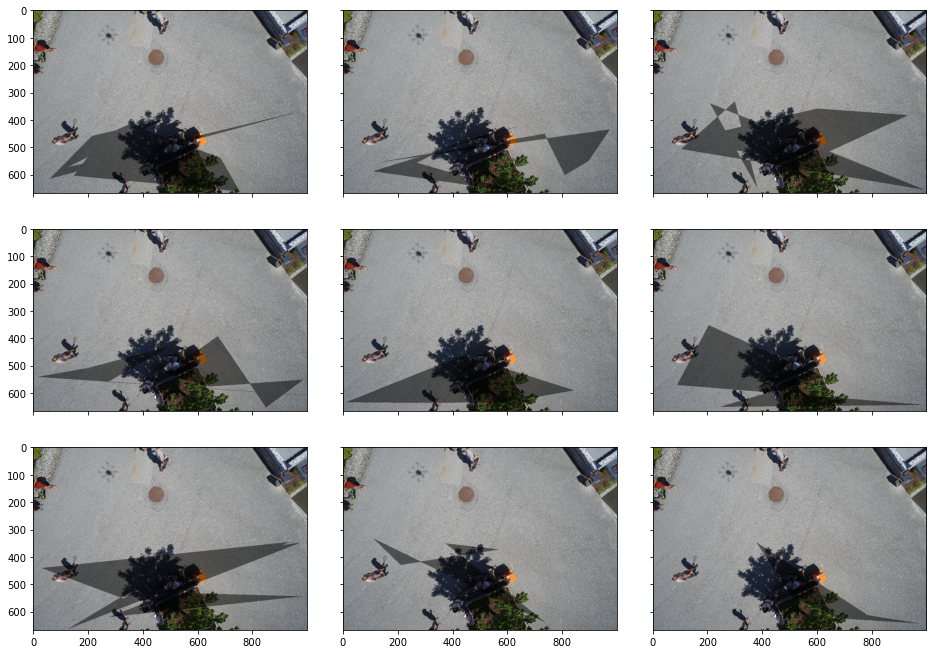
RandomShadow
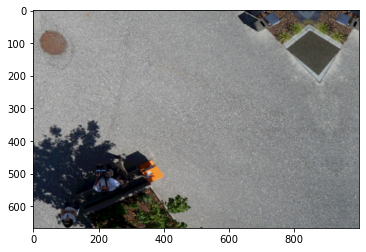
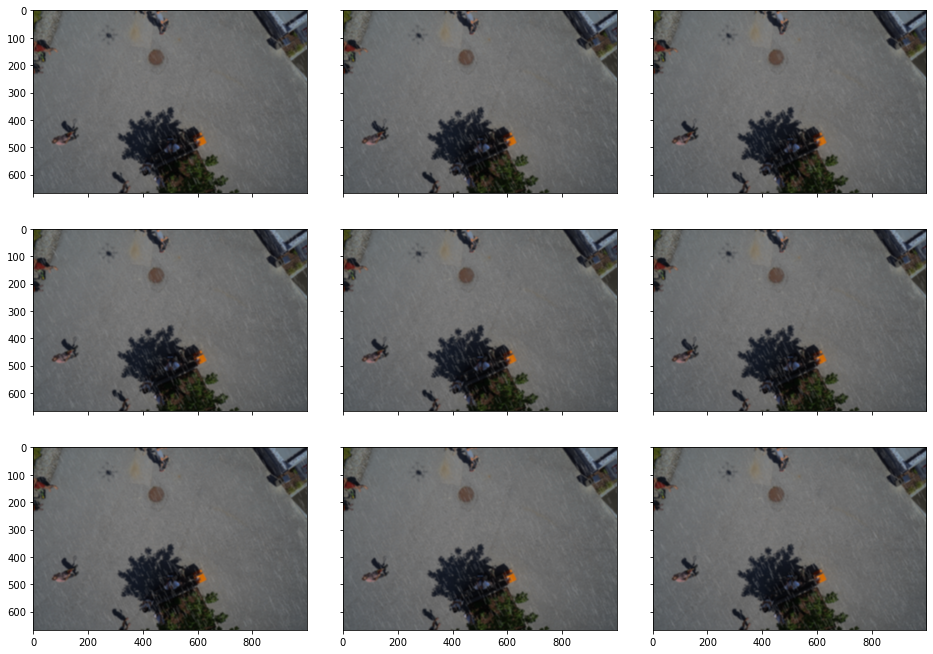
Here is shadow with the defaults. I think they might work well for overhead imagery. They’re kind of weird looking though.
augments = A.Compose([
        A.RandomShadow(p=1)
])

aug_ims = []
for i in range(9):
    augmented = augments(image=image, mask=mask)

    aug_ims.append(augmented['image'])

visualize_group(aug_ims)
RandomSnow
RandomSnow is also a little strange in my opinion. It bleaches out some pixels to simulate snow. I haven’t tried this in a real-world scenario so I don’t know if this actually helps or not.
augments = A.Compose([
        A.RandomSnow(p=1)
])

aug_ims = []
for i in range(9):
    augmented = augments(image=image, mask=mask)

    aug_ims.append(augmented['image'])

visualize_group(aug_ims)
RandomRain
RandomRain doesn’t make as much sense from an overhead image, but it might be useful for a driverless car scenario.
augments = A.Compose([
        A.RandomRain(p=1)
])

aug_ims = []
for i in range(9):
    augmented = augments(image=image, mask=mask)

    aug_ims.append(augmented['image'])

visualize_group(aug_ims)
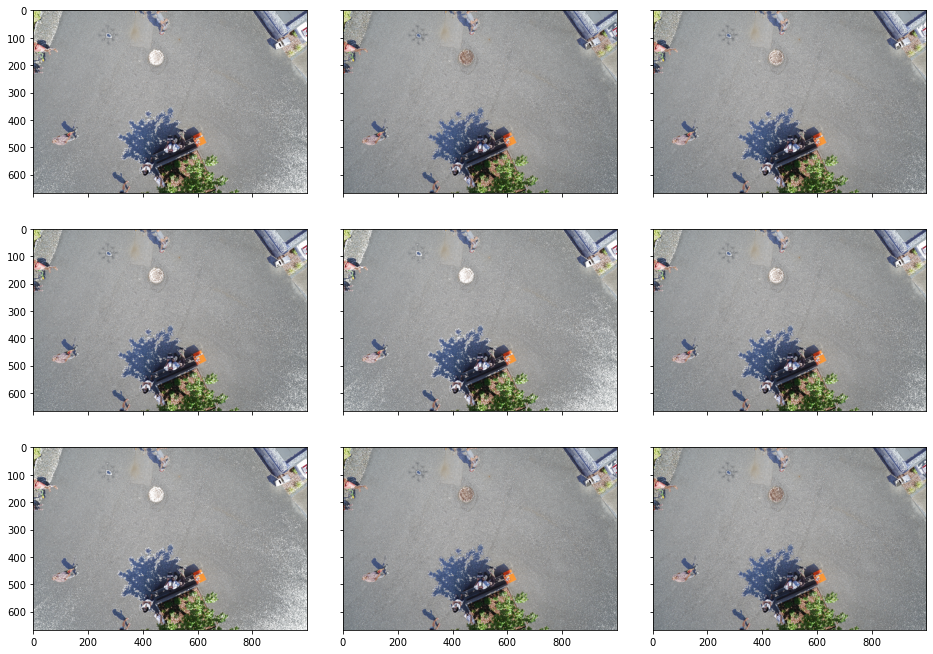
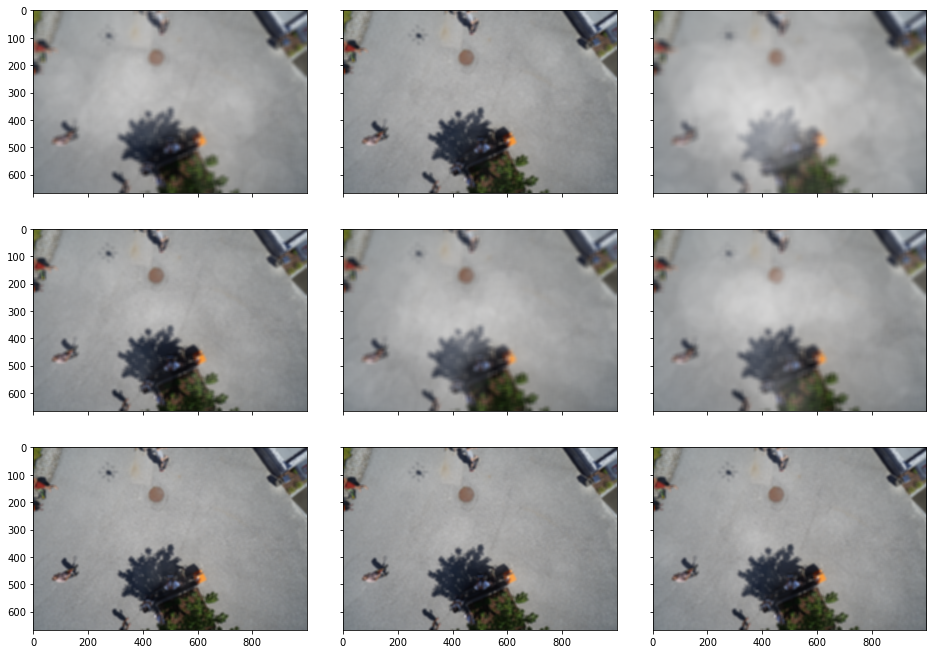
RandomFog
To me, the default RandomFog behavior looks more like blurring than fog, but maybe it’ll be useful for some applications.
augments = A.Compose([
        A.RandomFog(p=1)
])

aug_ims = []
for i in range(9):
    augmented = augments(image=image, mask=mask)

    aug_ims.append(augmented['image'])

visualize_group(aug_ims)
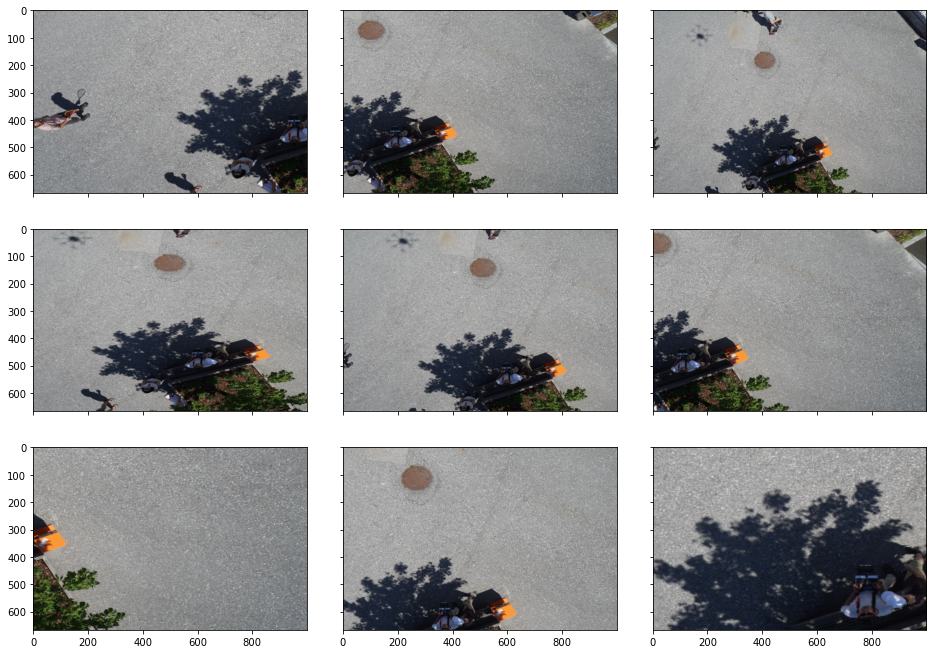
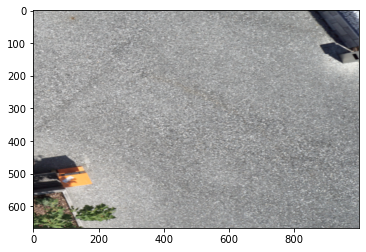
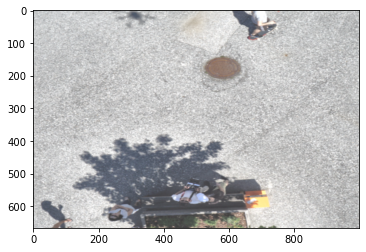
Cropping
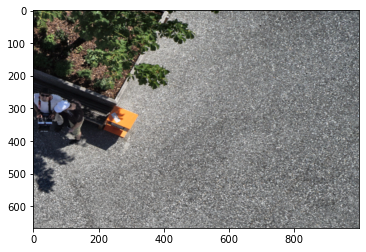
There are a few cropping options: Crop, CenterCrop, and RandomResizedCrop. Let’s look at them.
aug = A.Compose([
        A.Crop(400, 100, 500, 200, p=1),
])
This reduces the image size. Sometimes this is what I’m looking for, other times I want to resize.
plt.imshow(aug(image=image)['image']);
Here’s how to resize.
The arguments are a little unintuitive to me but they work well.
augments = A.Compose([
        A.RandomResizedCrop(image.shape[0], image.shape[1]),
])

aug_ims = []
for i in range(9):
    augmented = augments(image=image, mask=mask)
    aug_ims.append(augmented['image'])

visualize_group(aug_ims)
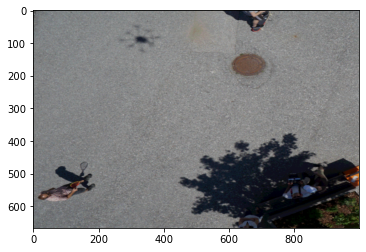
Compare the above to Crop, where the images aren’t resized.
The default scale for crop is scale=(0.08, 1.0), which might be too much for many applications. Here’s what it looks like if you back it off a bit.
augments = A.Compose([
        A.RandomResizedCrop(image.shape[0], image.shape[1], scale=(0.25, 1)),
])

aug_ims = []
for i in range(9):
    augmented = augments(image=image, mask=mask)
    aug_ims.append(augmented['image'])

visualize_group(aug_ims)
That usually looks better to me.
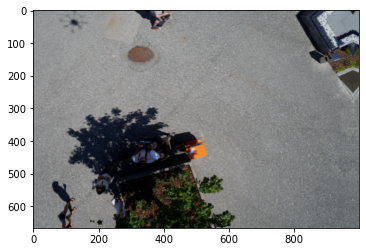
augments = A.Compose([
        A.Crop(300, 300, 500, 500, p=0.5),
])

aug_ims = []
for i in range(4):
    augmented = augments(image=image, mask=mask)

    aug_ims.append(augmented['image'])
    plt.imshow(augmented['image'])
    plt.show()


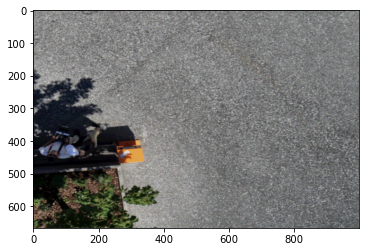
And here’s CenterCrop.
augments = A.Compose([
        A.CenterCrop(400, 400,always_apply=False, p=0.5),
])

aug_ims = []
for i in range(9):
    augmented = augments(image=image, mask=mask)
    plt.imshow(augmented['image'])
    plt.show()


augments = A.Compose([
        A.RandomResizedCrop(image.shape[0], image.shape[1]),
])

aug_ims = []
for i in range(9):
    augmented = augments(image=image, mask=mask)
    aug_ims.append(augmented['image'])

visualize_group(aug_ims)
The default scale values can be too aggressive for me, so if you want to constrain it you can set the scale.
augments = A.Compose([
        A.RandomResizedCrop(image.shape[0], image.shape[1], scale=(0.5, 1.0)),
])

aug_ims = []
for i in range(9):
    augmented = augments(image=image, mask=mask)
    aug_ims.append(augmented['image'])

visualize_group(aug_ims)
If you don’t want to change the aspect ratio, you can fix the ratio to 1.
augments = A.Compose([
        A.RandomResizedCrop(image.shape[0], image.shape[1], scale=(0.5, 1.0), ratio=(1,1)),
])

aug_ims = []
for i in range(9):
    augmented = augments(image=image, mask=mask)
    aug_ims.append(augmented['image'])

visualize_group(aug_ims)
Overall
Although some of these augmentations may have seemed subtle, when you combine a bunch of them you can get really excellent results. Let’s look at some results from combining lots of transformations together.
Spatial and Pixel Only
When I just want to do spatial- and pixel-level transformations, it usually looks like this.it My overall usually looks something like this
augments = A.Compose([
    # spatial-level transforms (no distortion)
        A.HorizontalFlip(p=0.5),
        A.VerticalFlip(p=0.5),
        A.RandomRotate90(p=0.5),
    # pixel-level transforms
        A.CLAHE(2),
        A.Posterize(num_bits=4, p=0.5),
        A.RandomBrightness(limit=0.2, p=0.5),
        A.RandomContrast(limit=0.2, p=0.5),
        A.RandomGamma(gamma_limit=(80, 120), p=0.5),
])

aug_ims = []
for i in range(9):
    augmented = augments(image=image, mask=mask)
    plt.imshow(augmented['image'])
    plt.show()
Spatial and Pixel and Non-Rigid
augments = A.Compose([
    # spatial-level transforms (no distortion)
        A.HorizontalFlip(p=0.5),
        A.VerticalFlip(p=0.5),
        A.RandomRotate90(p=0.5),
    # pixel-level transforms
        A.CLAHE(2),
        A.Posterize(num_bits=4, p=0.5),
        A.RandomBrightness(limit=0.2, p=0.5),
        A.RandomContrast(limit=0.2, p=0.5),
        A.RandomGamma(gamma_limit=(80, 120), p=0.5),
    # non-rigid
        A.OneOf([A.OpticalDistortion(), A.ElasticTransform(), A.GridDistortion()
                ])
])

aug_ims = []
for i in range(9):
    augmented = augments(image=image, mask=mask)
    plt.imshow(augmented['image'])
    plt.show()
Spatial, Pixel, Non-Rigid, and Cropping
Or if you want to add cropping:
augments = A.Compose([
    # spatial-level transforms (no distortion)
        A.HorizontalFlip(p=0.5),
        A.VerticalFlip(p=0.5),
        A.RandomRotate90(p=0.5),
    # pixel-level transforms
        A.CLAHE(2),
        A.Posterize(num_bits=4, p=0.5),
        A.RandomBrightness(limit=0.2, p=0.5),
        A.RandomContrast(limit=0.2, p=0.5),
        A.RandomGamma(gamma_limit=(80, 120), p=0.5),
    # non-rigid
        A.OneOf([A.OpticalDistortion(), A.ElasticTransform(), A.GridDistortion()
                    ]),
    # cropping
        A.RandomResizedCrop(image.shape[0], image.shape[1], scale=(0.25, 1))
])

aug_ims = []
for i in range(9):
    augmented = augments(image=image, mask=mask)
    plt.imshow(augmented['image'])
    plt.show()
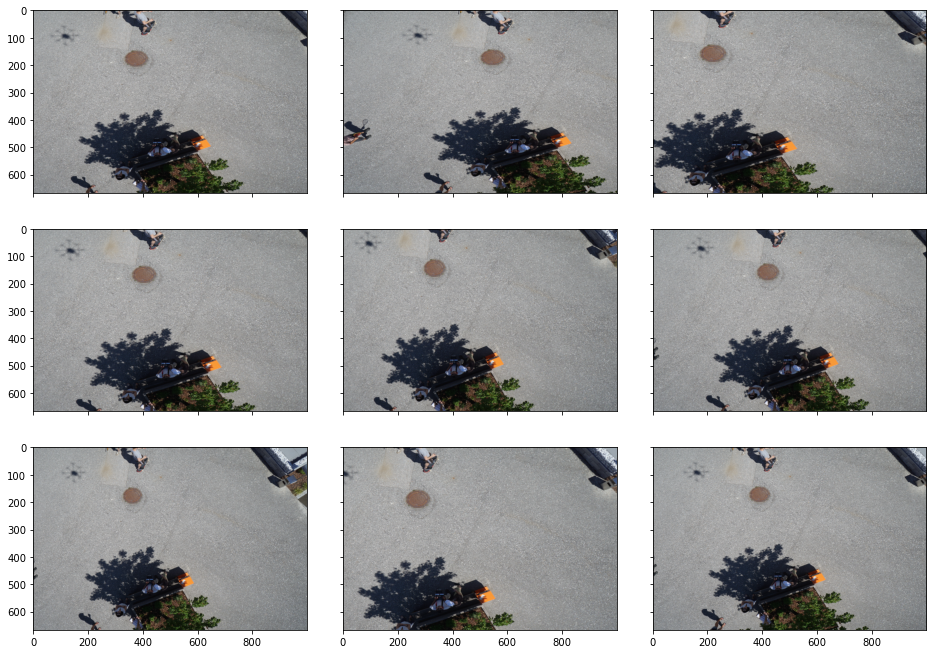
Spatial, Pixel, Non-Rigid, Cropping, and Special Effects
Why not add some shadows as well?
augments = A.Compose([
    # spatial-level transforms (no distortion)
        A.HorizontalFlip(p=0.5),
        A.VerticalFlip(p=0.5),
        A.RandomRotate90(p=0.5),
    # pixel-level transforms
        A.CLAHE(2),
        A.Posterize(num_bits=4, p=0.5),
        A.RandomBrightness(limit=0.2, p=0.5),
        A.RandomContrast(limit=0.2, p=0.5),
        A.RandomGamma(gamma_limit=(80, 120), p=0.5),
    # non-rigid
        A.OneOf([A.OpticalDistortion(), A.ElasticTransform(), A.GridDistortion()
                    ]),
    # cropping
        A.RandomResizedCrop(image.shape[0], image.shape[1], scale=(0.25, 1)),
    # special effects
        A.RandomShadow()
])

aug_ims = []
for i in range(9):
    augmented = augments(image=image, mask=mask)
    plt.imshow(augmented['image'])
    plt.show()
My Recommendation - Normal Imagery
There’s no data augmentation scheme that’s going to consistently give you the best results, but here’s a good baseline to try.
augments = A.Compose([
    # spatial-level transforms (no distortion)
        A.Rotate (limit=20, p=1),
    # pixel-level transforms
        A.CLAHE(2),
        A.Posterize(num_bits=4, p=0.5),
        A.RandomBrightness(limit=0.2, p=0.5),
        A.RandomContrast(limit=0.2, p=0.5),
        A.RandomGamma(gamma_limit=(80, 120), p=0.5),
    # non-rigid
        A.OneOf([A.OpticalDistortion(), A.ElasticTransform(), A.GridDistortion()
                    ]),
    # cropping
        A.RandomResizedCrop(image.shape[0], image.shape[1], scale=(0.25, 1)),
])

aug_ims = []
for i in range(9):
    augmented = augments(image=image, mask=mask)
    plt.imshow(augmented['image'])
    plt.show()

My Recommendation - Overhead Imagery
The biggest difference for overhead imagery is that the flips and rotations can be different.
augments = A.Compose([
    # spatial-level transforms (no distortion)
        A.HorizontalFlip(p=0.5),
        A.VerticalFlip(p=0.5),
        A.RandomRotate90(p=0.5),
    # pixel-level transforms
        A.CLAHE(2),
        A.Posterize(num_bits=4, p=0.5),
        A.RandomBrightness(limit=0.2, p=0.5),
        A.RandomContrast(limit=0.2, p=0.5),
        A.RandomGamma(gamma_limit=(80, 120), p=0.5),
    # non-rigid
        A.OneOf([A.OpticalDistortion(), A.ElasticTransform(), A.GridDistortion()
                    ]),
    # cropping
        A.RandomResizedCrop(image.shape[0], image.shape[1], scale=(0.25, 1)),
])

aug_ims = []
for i in range(9):
    augmented = augments(image=image, mask=mask)
    plt.imshow(augmented['image'])
    plt.show()